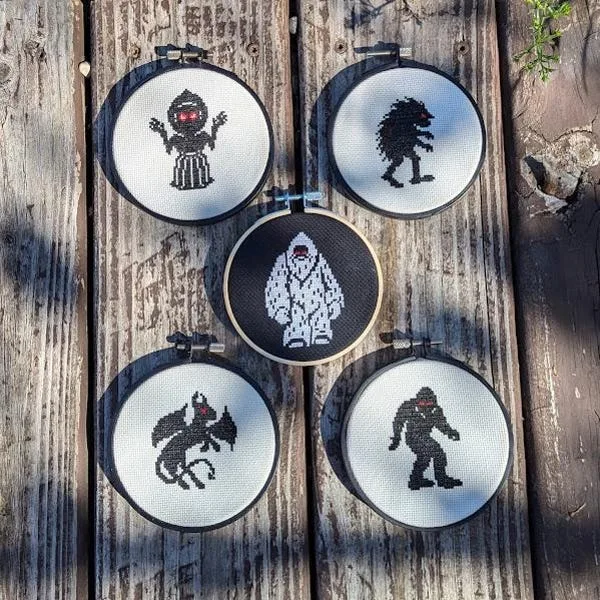
I can’t be the only person here with a stash of finished but not FINISHED work. Though it can feel a bit tedious and time-consuming and a lot less fun than the original piece was to stitch, finishing off your work is absolutely worth it to make them feel professional, tidy, and ready to show off.
From hoops to frames, I’ve got you covered - let's get started!
Materials List
You will need: Your finished cross-stitch piece An appropriately sized hoop or picture frame Needle and thread or floss Scissors A clean towel and iron, if washing and pressing (recommended) Felt or backing fabric, if finishing the back of a hoop Backing board, cut to size, if using a picture frame
Prep your piece
You always want to wash your work before you frame - not only are you (obviously) clearing it of oils from your hands, but the water will also help flatten out any creases left by the hoop. Before washing, check that your threads are colorfast, especially if you’ve used hand-dyed or specialty floss (DMC floss is generally safe). Use cool or lukewarm water, never wring or twist your stitching. When pressing, place your piece face down on a clean, fluffy towel, and iron gently from the back to protect your stitches. You may flip your piece and press from the other side as well, but keep the towel between the iron and your stitching to avoid flattening your stitches.
Choose your frame
Of course, the first option is to frame your work in-hoop! Using a hoop made of a material of your choice is a great way to add personality to your piece.
Another option is to use a picture frame. You’ll need a backing board to mount your stitching, acid-free being the best option to protect your work over time. Stretch and secure your fabric around the board, then place it in the frame. If using the glass (which is a personal choice - I usually take it out), make sure your stitching sits neatly behind it without being crushed.
Make sure the work is centered and you’re happy with the position of the piece within your frame. Do not trim all of your excess fabric! Leave about 2 inches all around, this is how you’ll secure your fabric.
Secure & Finish
When finishing with a hoop, sew a loose running stitch around the extra fabric on the back, staying a little way in from the raw edge. Gently pull the thread to gather the fabric toward the center, working a little at a time. Keep checking the front to make sure your design stays centered and the fabric remains smooth. Once everything looks even and taut, secure the thread with a knot.
For a picture frame finish, stretch your piece over your backing board and, using a lacing-style pattern, secure your stitching on the back with thread, trying to keep both sides as flat and even as possible and adjusting as you go.
Once your fabric is nice and secure, if it’s in a picture frame, just close it up et voilà ! If you’ve used a hoop as a frame, for a polished, professional finish I recommend using a circle of felt or backing fabric to cover the gathered edge. This can be sewn in place (either with a whip stitch or a blanket stitch), or even (carefully) hot glued if you need it done quickly.
Find a small patch of wall
Your work is ready to display! Choose a spot away from strong direct sunlight and damp areas to help your stitching stay in good condition. Lightweight hoops and frames can usually hang from a small wall hook, or you can prop your finished piece on a shelf alongside your other curiosities.
Before you know it, that one little hoop (or frame) will grow into your own personal art gallery!
A creature of your own.
When you’re ready, there’s a small gathering of woodland oddities waiting to meet you.
Find your first pattern