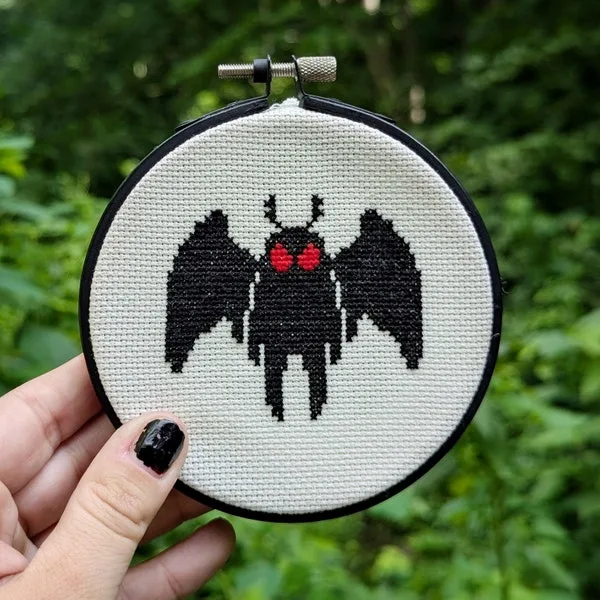
So you want to stab a piece of fabric hundred (or thousands) of times and call it art?
Excellent. You’re in the right place.
Cross-stitch can be relaxing, travels well, and simpler to learn than you might think. If you’ve been curious about picking up a new hobby but aren’t sure where to begin, don’t worry. I’ve got you.
Materials
For every project you’ll need the following: *Aida Fabric* Any count will work, 14-count Aida is an excellent place to start and is easy on the eyes. *Embroidery Floss* DMC colors are my preferred flosses - they’re vibrant and reliable. *Needle* A tapestry needle with a blunt tip is ideal. (I like to use size 24 for 14-count Aida) *Hoop* (Optional, but helpful) To keep your fabric taut. For mini and smaller patterns, make sure to use a hoop that is larger than your finished piece to avoid creasing the design. *Scissors* For trimming your threads. *A Pattern!* (Also, always remember that your pattern’s instructions take precedence over anything you read here!)
Set-Up
Hoop Your Fabric: Loosen the outer hoop, place your fabric over the inner hoop, and press the outer hoop down over it. Gently pull the fabric around the edges until it’s evenly taut, then tighten the hoop screw. You want the fabric held firmly, not stretched out of shape. Thread Your Needle: Cut about 18 inches (one forearm length) of floss. Separate one strand at a time from your full 6-strand floss to avoid tangling. Many patterns call for two strands of floss, but always refer to your pattern.
Read The Chart
Take some time to look over your entire pattern! Artists often include tips and important information among the pages of the pattern, so make sure to read through.
Each square on the chart represents one cross stitch (unless otherwise specified on the pattern). The symbol inside each square corresponds to a floss color listed in the key found in your pattern.
Heavier grid lines on the pattern often indicate sets of ten stitches to help with counting. And if you’re anything like me, you will need help with counting.
Your pattern may also indicate special stitches, like backstitch outlines, half stitches, or French knots. Beginners do not necessarily need to know all of these immediately, at least not in my patterns!, but keep an eye out for further guides to special stitches here on The Commonplace Blog!
Getting Started
*Find the Center* Locate the center of your pattern, usually marked with arrows on a pattern. Fold your fabric in half horizontally and vertically, then gently mark the point where the fold meets to locate the center and start stitching there to be sure your piece fits comfortably on the fabric. I usually start with whichever color sits closest to the center of the design, then work outward from there. *Starting Your Floss* Knot Method: Tie a small knot at the end of your floss before starting. While this is a quick and easy way to get started, knots can create bumps on the back of your work that may show through when framing. I recommend trying one of the knot-free methods below! No-Knot Method: Bring the needle up from the back of the fabric, leaving a short tail behind. Hold the tail against the back of your work and stitch over it with your first few stitches to secure it. Once it’s held firmly in place, trim any excess thread. Loop Method: This method works when stitching with an even number of strands (most commonly 2). Separate your floss into individual strands, then take one strand and fold it in half. Thread both loose ends through your needle, leaving a loop at the opposite end. Bring your needle up through the back of the fabric, leaving the loop behind. Make your first half-stitch, then pass your needle through the loop on the back to secure the thread. Continue stitching as usual! *Ending Your Thread* When you come to the end of a thread or are finishing a color, turn your work over and weave the thread tail under several stitches on the pack. Pull it through gently, then trim the excess close to the fabric without cutting your finished stitches. *Basic Stitch* 1. Bring your needle up through the bottom left hole of a square. 2. Take it down through the top-right hole to make the first diagonal (/). 3. Bring the needle back up through the bottom-right hole. 4. Take it down through the top-left hole to complete your X (\). Remember to keep the top half of every X slanting the same direction throughout your project for a cleaner look. You may complete one X at a time (called the English Method), or work a row of first diagonals /// before returning to complete them \\\ (the Danish Method). Both methods work equally well, so choose whichever feels comfortable (while keeping your top diagonal directions in mind across colors).
*Enjoy The Journey!* Remember, you are a human being making something with your own two hands, and this might be your first attempt! You will make mistakes, you will get frustrated, and you will almost definitely miscount at least once. Your first finished piece might not look exactly the way you imagined, and that’s okay. I remember learning about the Persian Flaw in college art courses and the idea has always stuck with me. The story goes that Persian carpet weavers and artisans would deliberately leave a small imperfection in their work in recognition that only God could create something truly perfect. While surely the truth of this practice is more complicated than this little story, I’ve always found the sentiment beautiful and freeing. Whether or not you’re religious, I think there is something beautiful about remember that we’re human and the things we make don’t have to be perfect to be meaningful, valuable, or lovely. As a naturally anxious perfectionist, this is something I have to remind myself more often than I’d like to admit - not every misplaced stitch needs to be undone, and perhaps a “mistake” could instead be looked at as your personal touch. Perfect doesn’t necessarily mean beautiful. Little quirks are what make a handmade piece or gift feel truly special and unique. So take a breath, give yourself some grace, and enjoy the process. You’re learning something new, and that’s worth celebrating all on its own.
A creature of your own.
When you’re ready, there’s a small gathering of woodland oddities waiting to meet you.
Find your first pattern